|
|
arduino ide给esp8266-01上传示例程序失败
- /*
- ESP8266 Blink by Simon Peter
- Blink the blue LED on the ESP-01 module
- This example code is in the public domain
- The blue LED on the ESP-01 module is connected to GPIO1
- (which is also the TXD pin; so we cannot use Serial.print() at the same time)
- Note that this sketch uses LED_BUILTIN to find the pin with the internal LED
- */
- void setup() {
- pinMode(LED_BUILTIN, OUTPUT); // Initialize the LED_BUILTIN pin as an output
- }
- // the loop function runs over and over again forever
- void loop() {
- digitalWrite(LED_BUILTIN, LOW); // Turn the LED on (Note that LOW is the voltage level
- // but actually the LED is on; this is because
- // it is active low on the ESP-01)
- delay(1000); // Wait for a second
- digitalWrite(LED_BUILTIN, HIGH); // Turn the LED off by making the voltage HIGH
- delay(2000); // Wait for two seconds (to demonstrate the active low LED)
- }


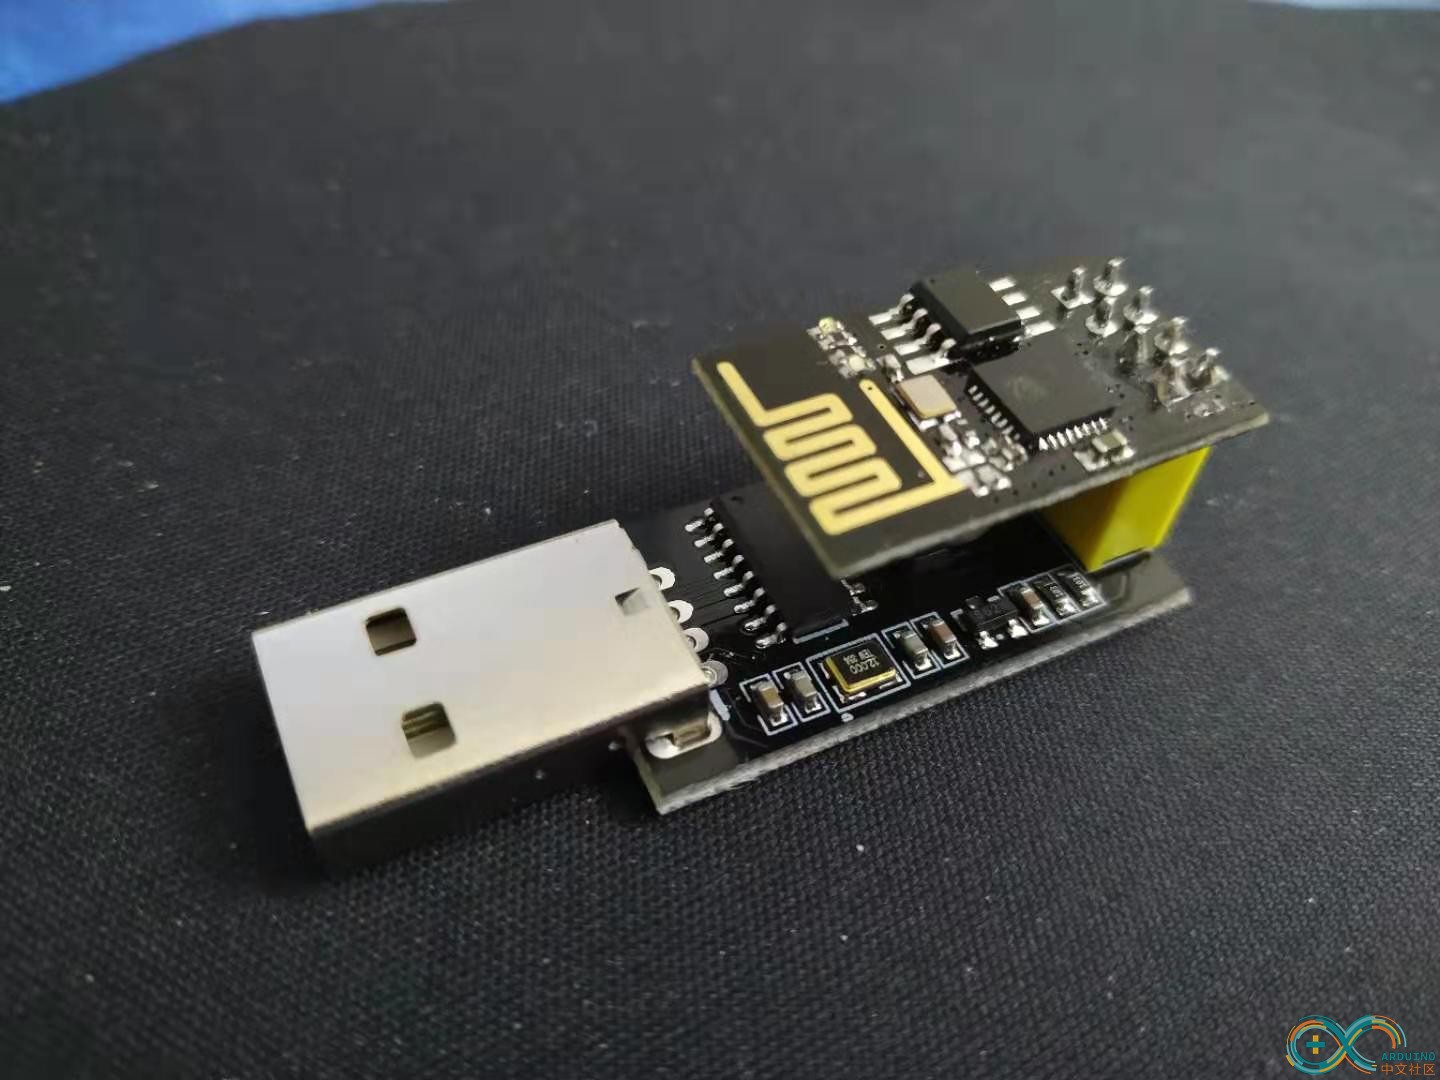
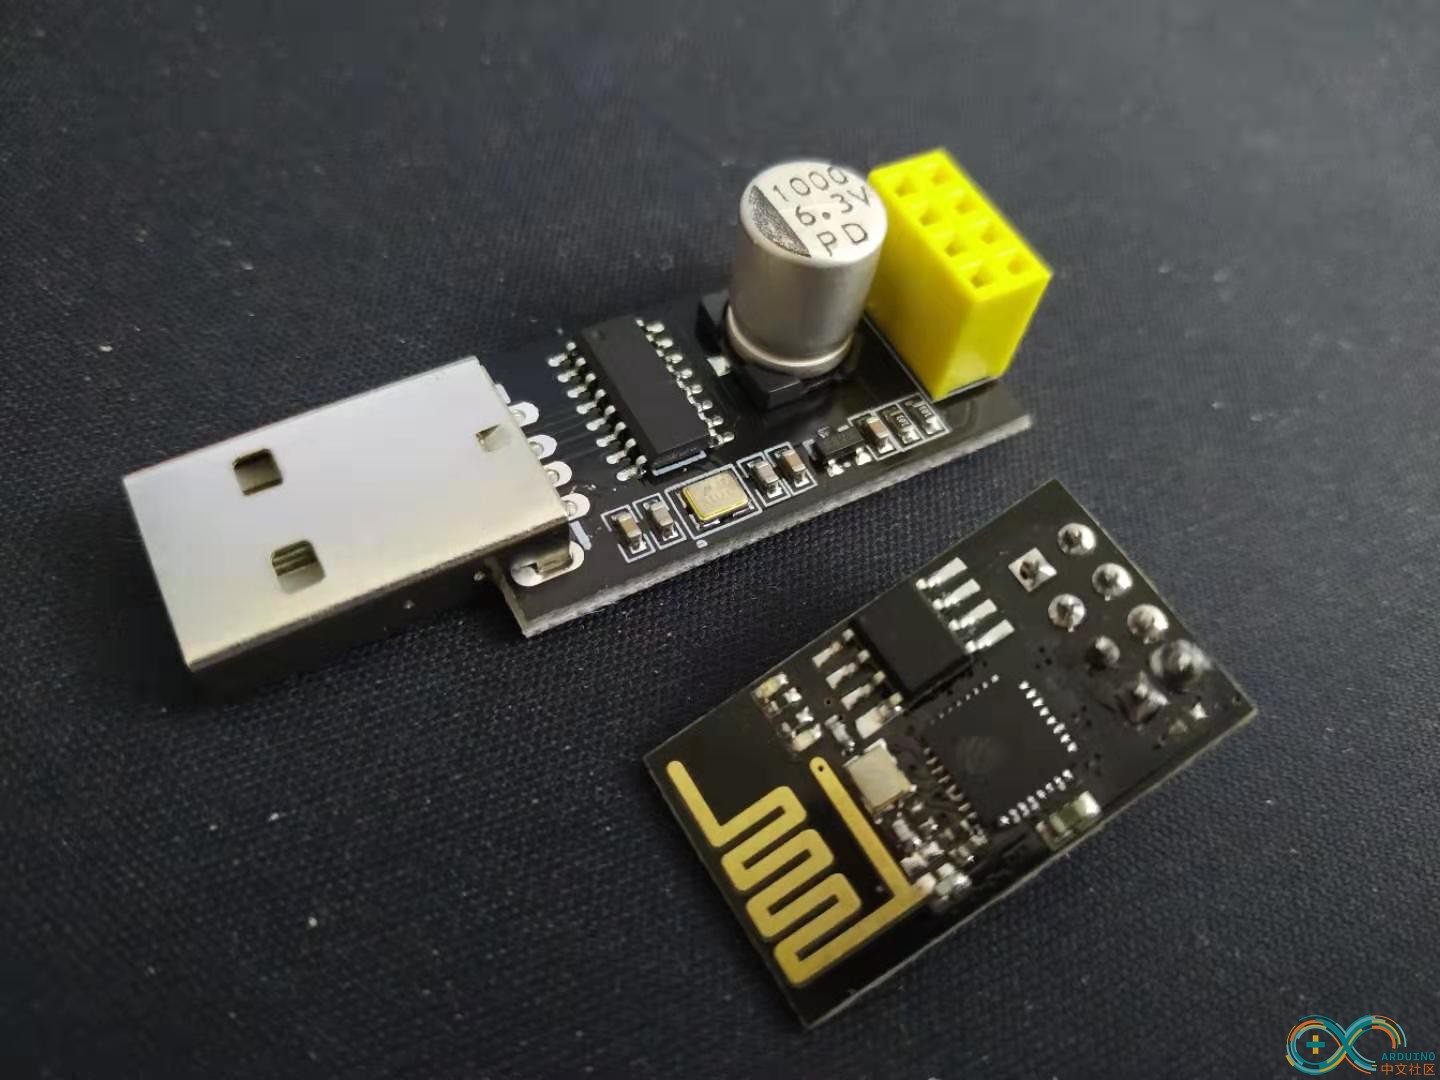
我忘了是esp8266-01还是esp8266-01s,用这个底座来连接电脑上传程序
用com串口调试工具可以连接,但是用arduino ide给esp8266-01上传示例程序却失败,如下图

图片有点小,我还是把 报错信息粘上来吧(下面红色字)
----------------------------------------------------------------------------------------------------------------------------------------------------------
Arduino:1.8.10 (Windows 7), 开发板:"Generic ESP8266 Module, 80 MHz, Flash, Disabled, All SSL ciphers (most compatible), ck, 40 MHz, 40MHz, DOUT (compatible), 512K (no SPIFFS), 2, nonos-sdk 2.2.1 (legacy), v2 Lower Memory, Disabled, None, Only Sketch, 115200"
项目使用了 257712 字节,占用了 (51%) 程序存储空间。最大为 499696 字节。
全局变量使用了26572字节,(32%)的动态内存,余留55348字节局部变量。最大为81920字节。
esptool.py v2.6
2.6
esptool.py v2.6
Serial port COM12
Connecting........_____....._____....._____....._____....._____....._____.....____Traceback (most recent call last):
File "C:\Users\Administrator\AppData\Local\Arduino15\packages\esp8266\hardware\esp8266\2.5.2/tools/upload.py", line 25, in <module>
esptool.main(fakeargs)
File "C:/Users/Administrator/AppData/Local/Arduino15/packages/esp8266/hardware/esp8266/2.5.2/tools/esptool\esptool.py", line 2653, in main
esp.connect(args.before)
File "C:/Users/Administrator/AppData/Local/Arduino15/packages/esp8266/hardware/esp8266/2.5.2/tools/esptool\esptool.py", line 468, in connect
raise FatalError('Failed to connect to %s: %s' % (self.CHIP_NAME, last_error))
esptool.FatalError: Failed to connect to ESP8266: Timed out waiting for packet header
_
选择的串口 _
不存在或开发板没有连接
在文件 -> 首选项开启
“编译过程中显示详细输出”选项
这份报告会包含更多信息。
----------------------------------------------------------------------------------------------------------------------------------------------------------
看网上别人的教程好像没做什么别的操作就可以直接写入,而我操作就不行,换了电脑试了,也换了esp8266试了
弄了半天还是不知道问题出在 哪里,希望有大神能给我指点一下啊
|
|