|
|
基于ESP32-C3的通过ESP-idf进行点灯
搭建好esp-idf的开发环境及VScode的开发配置之后,开始我们的点灯之旅:
LED GPIO位置引脚图:
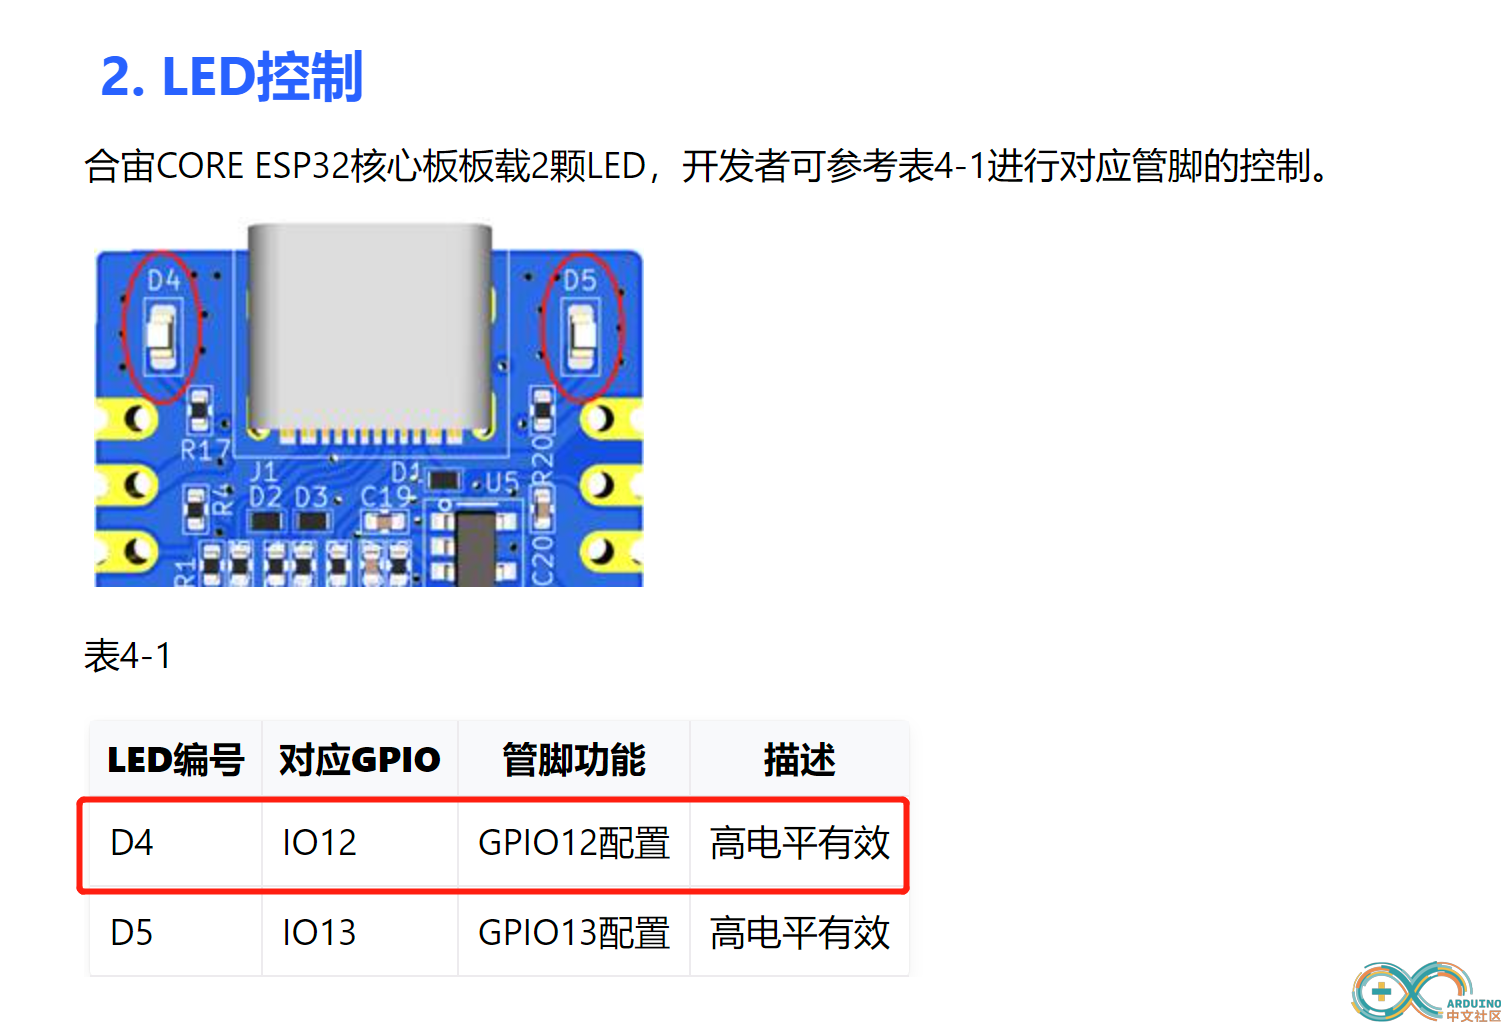
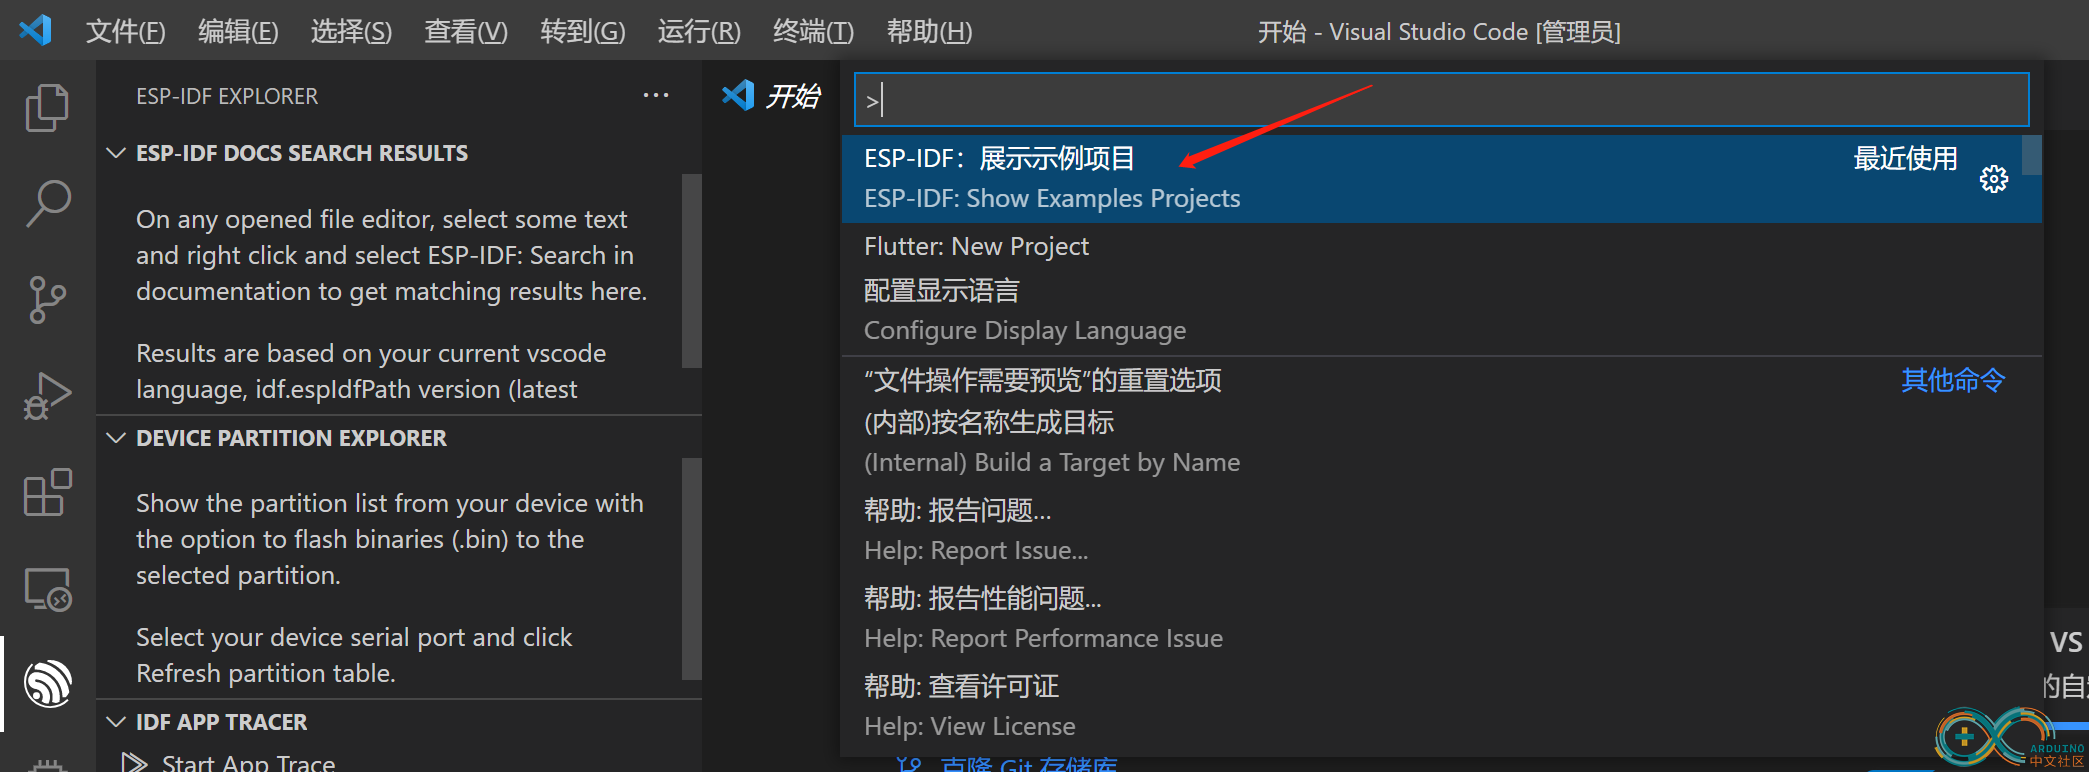
1、在VScode使用快捷键F1调出配置菜单
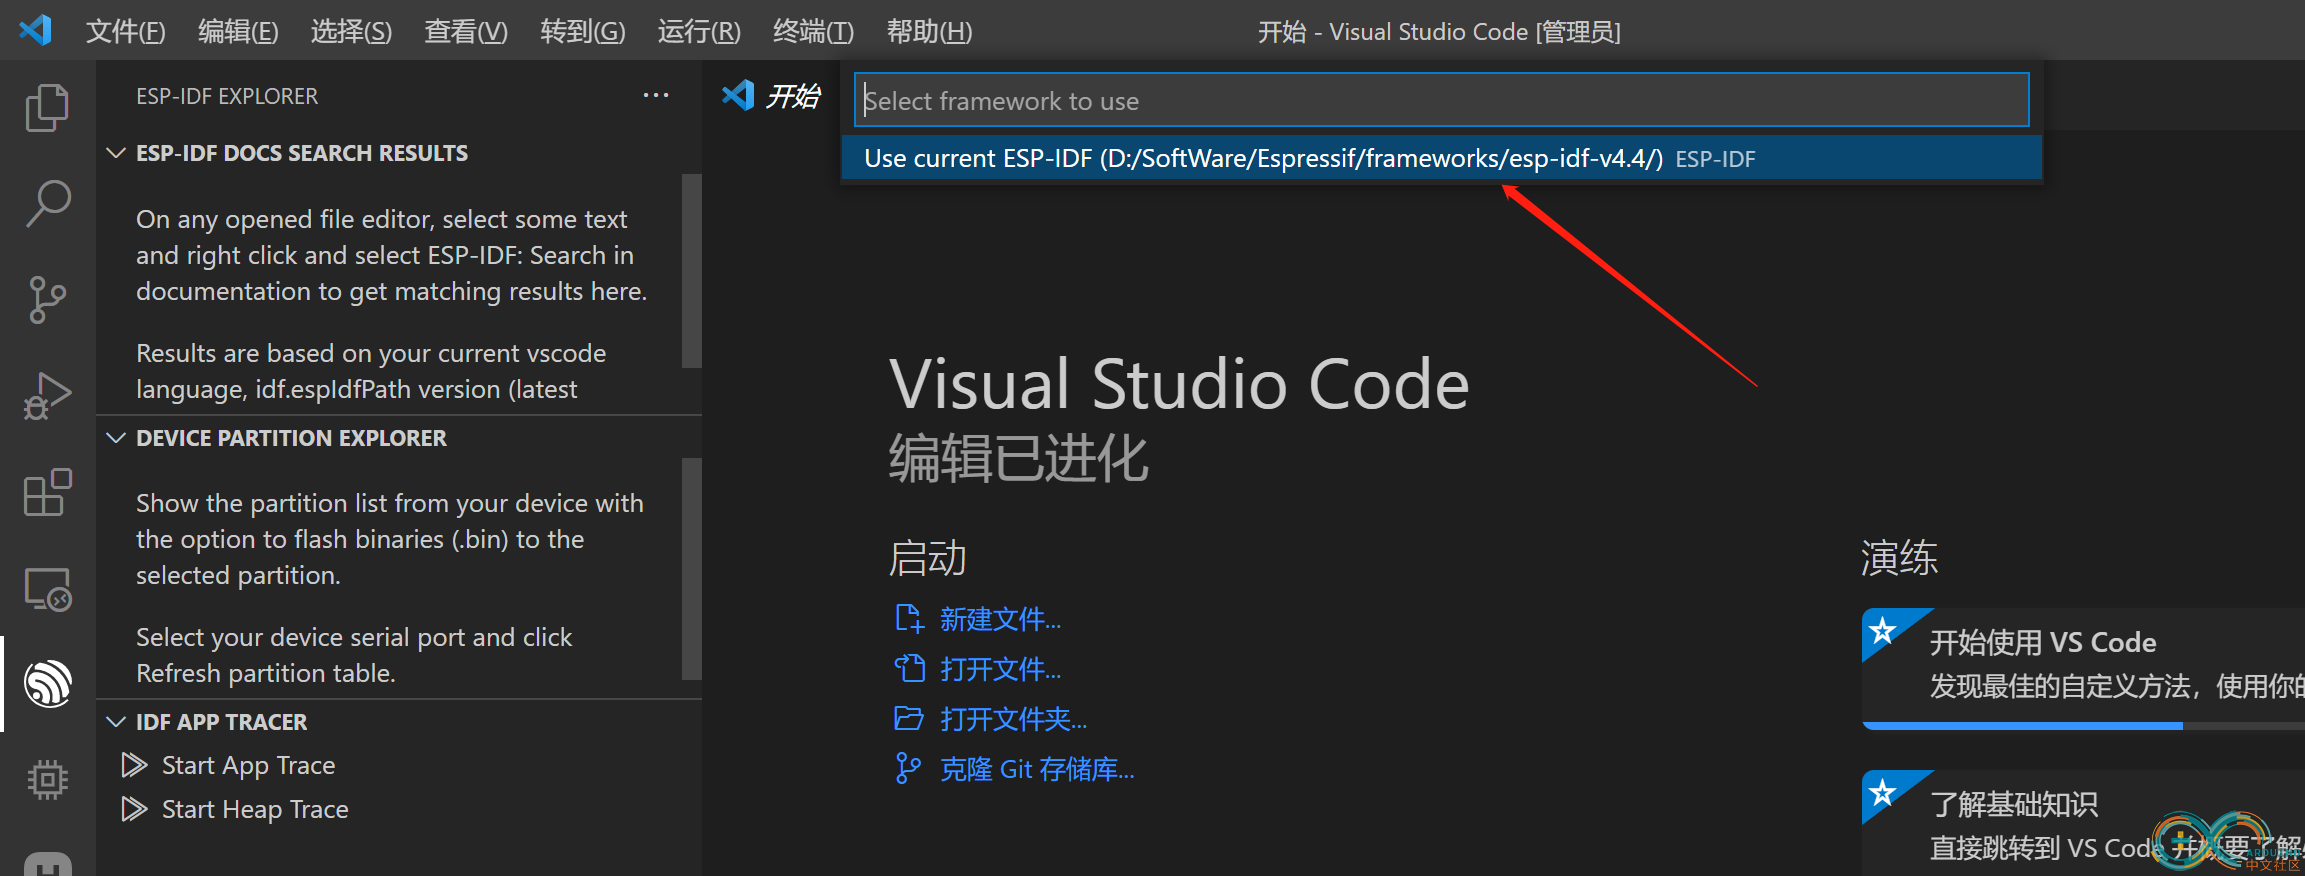
2、选择ESP-id版本
3、选择点灯示例
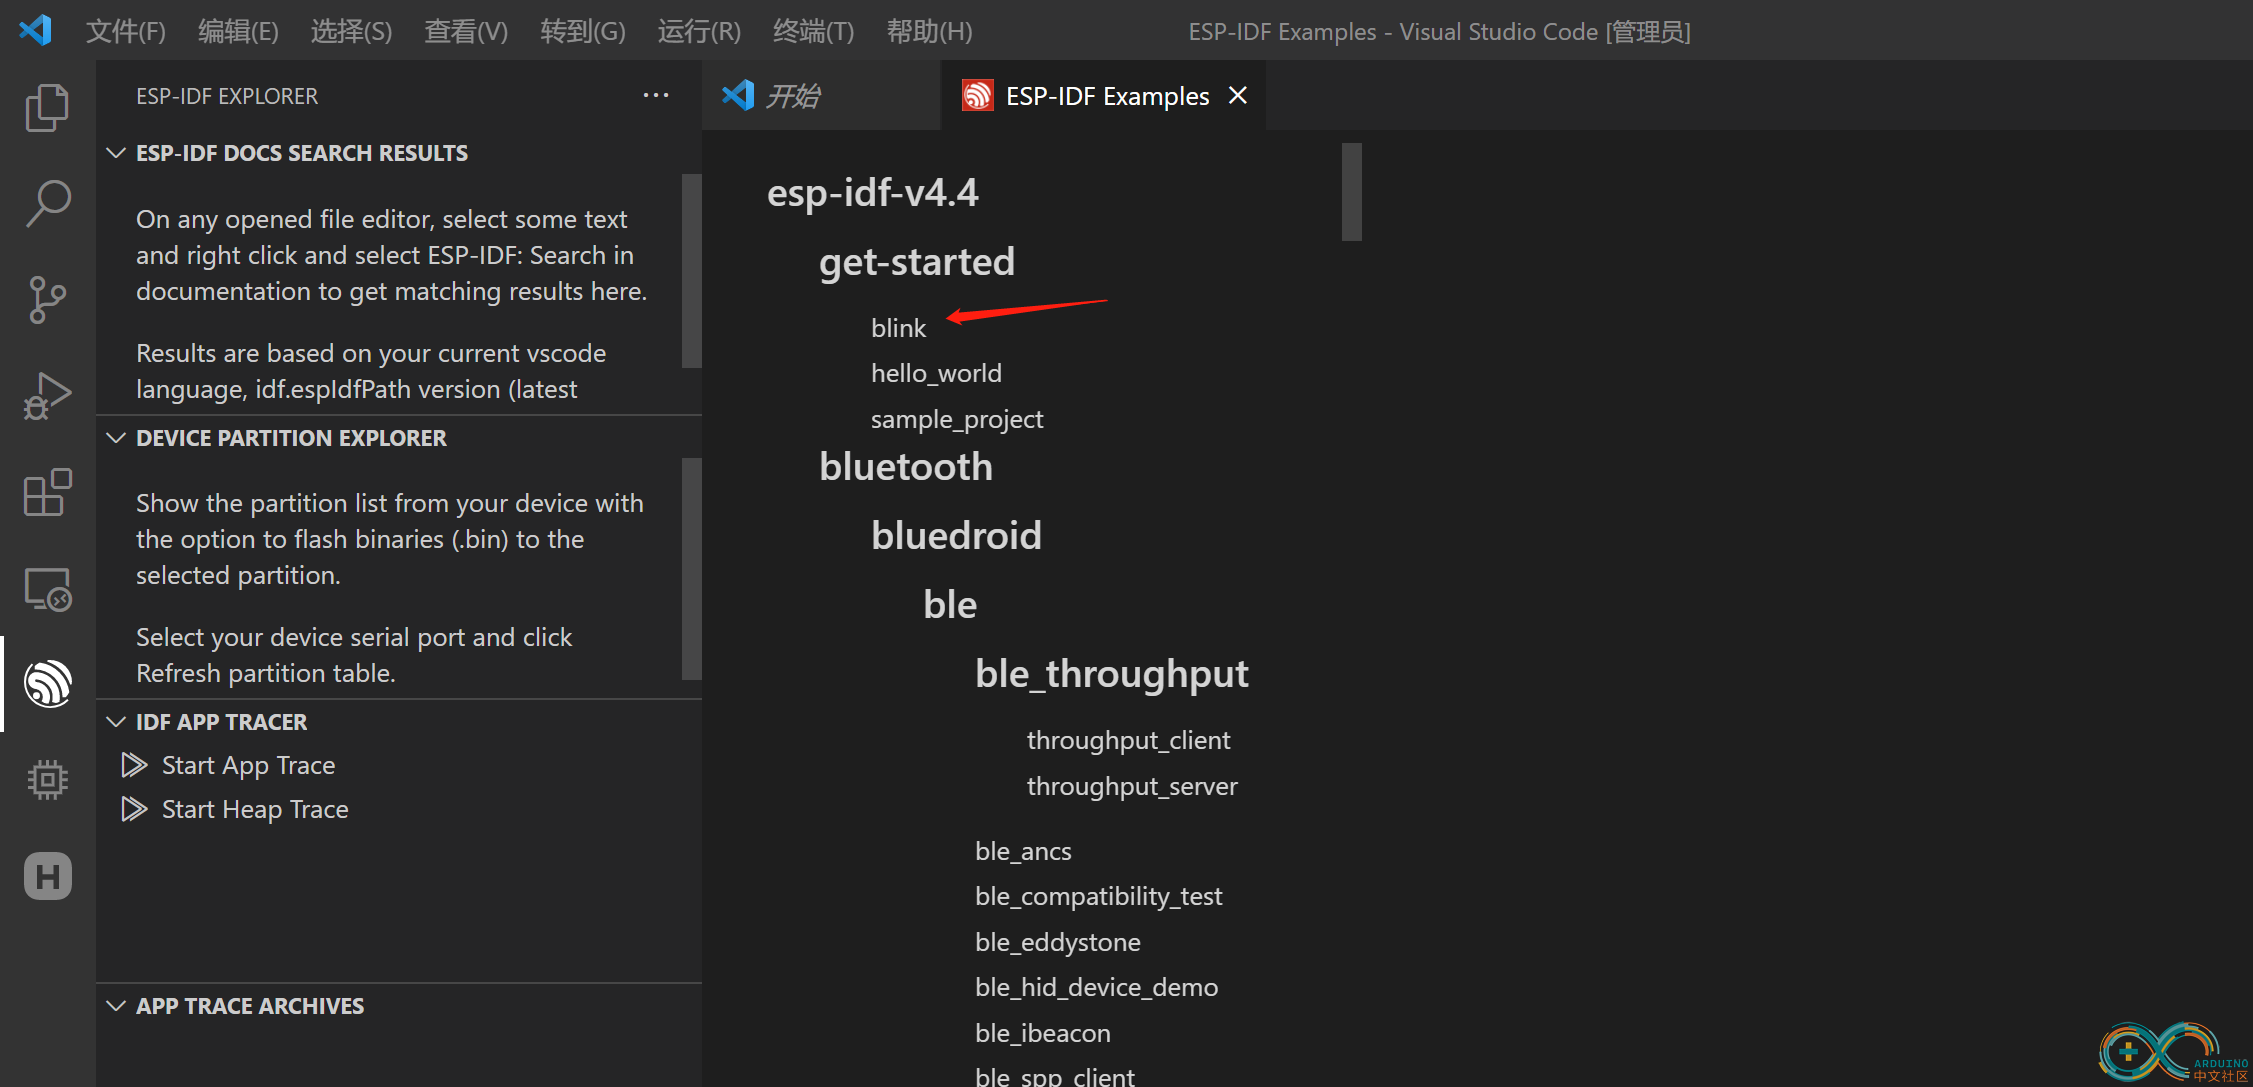
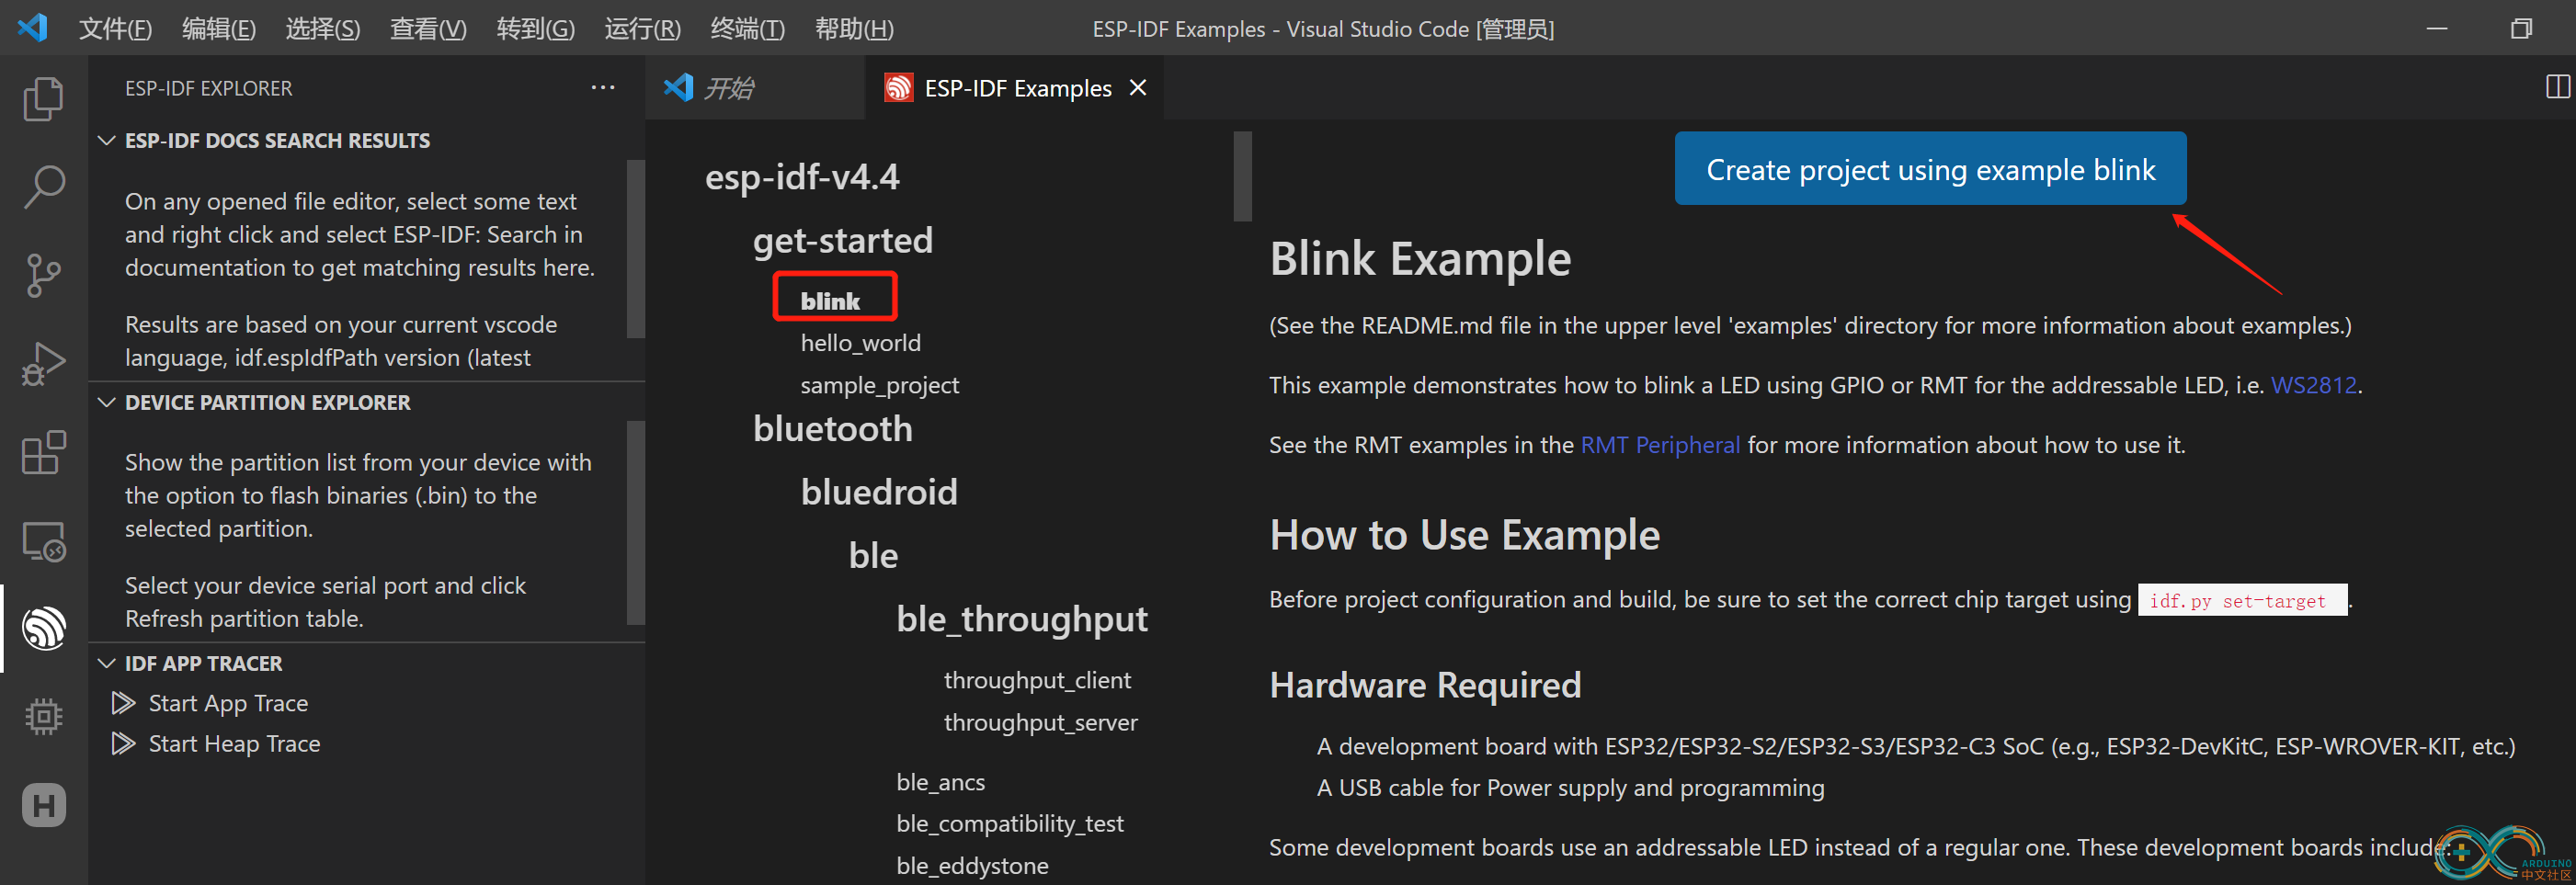
4、示例代码源文件blink_example_main.c
- /* Blink Example
- This example code is in the Public Domain (or CC0 licensed, at your option.)
- Unless required by applicable law or agreed to in writing, this
- software is distributed on an "AS IS" BASIS, WITHOUT WARRANTIES OR
- CONDITIONS OF ANY KIND, either express or implied.
- */
- #include <stdio.h>
- #include "freertos/FreeRTOS.h"
- #include "freertos/task.h"
- #include "driver/gpio.h"
- #include "esp_log.h"
- #include "led_strip.h"
- #include "sdkconfig.h"
- static const char *TAG = "example";
- /* Use project configuration menu (idf.py menuconfig) to choose the GPIO to blink,
- or you can edit the following line and set a number here.
- */
- //#define BLINK_GPIO CONFIG_BLINK_GPIO
- #define BLINK_GPIO 12
- static uint8_t s_led_state = 0;
- static void blink_led(void)
- {
- /* Set the GPIO level according to the state (LOW or HIGH)*/
- gpio_set_level(BLINK_GPIO, s_led_state);
- }
- static void configure_led(void)
- {
- ESP_LOGI(TAG, "Example configured to blink GPIO LED!");
- gpio_reset_pin(BLINK_GPIO);
- /* Set the GPIO as a push/pull output */
- gpio_set_direction(BLINK_GPIO, GPIO_MODE_OUTPUT);
- }
- void app_main(void)
- {
- /* Configure the peripheral according to the LED type */
- configure_led();
- while (1) {
- ESP_LOGI(TAG, "Turning the LED %s!", s_led_state == true ? "ON" : "OFF");
- blink_led();
- /* Toggle the LED state */
- s_led_state = !s_led_state;
- vTaskDelay(CONFIG_BLINK_PERIOD / portTICK_PERIOD_MS);
- }
- }

演示视频:
https://www.bilibili.com/video/BV1FW4y1e7wP/
【基于ESP32-C3的通过ESP-idf进行点灯】 https://www.bilibili.com/video/BV1FW4y1e7wP?share_source=copy_web&vd_source=6437f4c3a3ab00a4eff3cdff6295691e
|
|