|
|
此简化教程是WIFI接入的控制WS2812B灯带的示例。
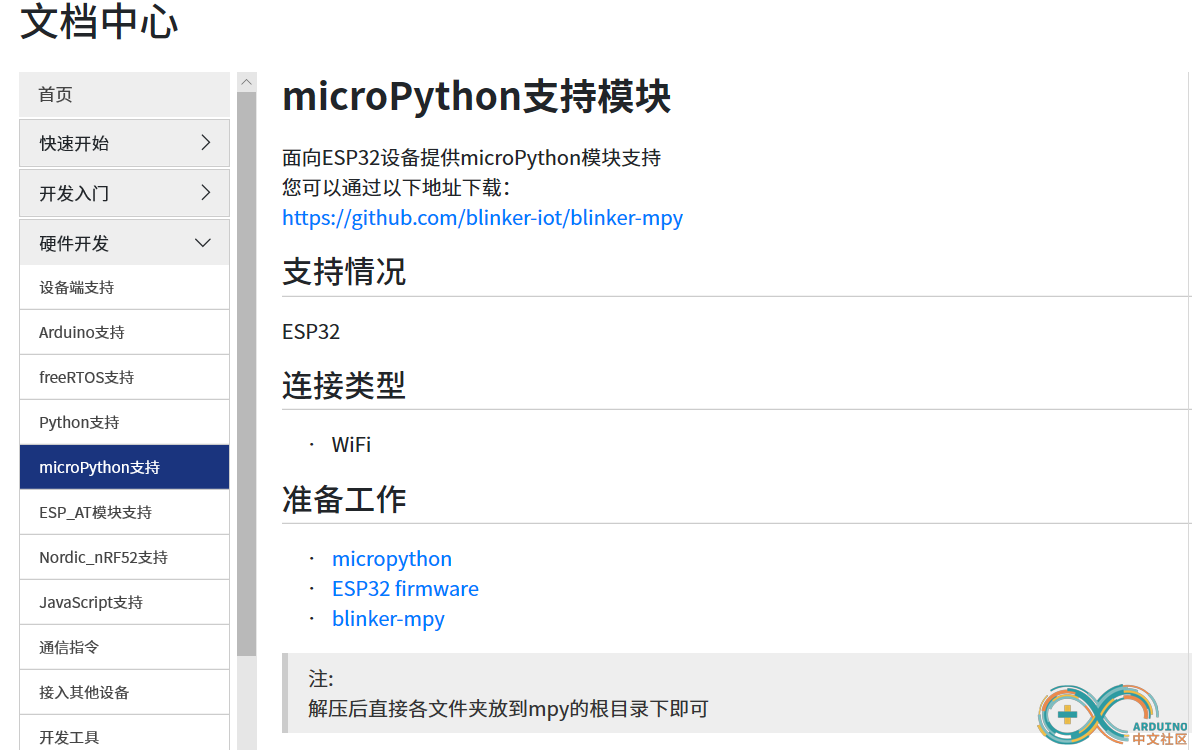
步骤1:准备固件与库,如何刷固件不再赘述。
指引看点灯科技的说明,https://www.diandeng.tech/doc/mpy-support

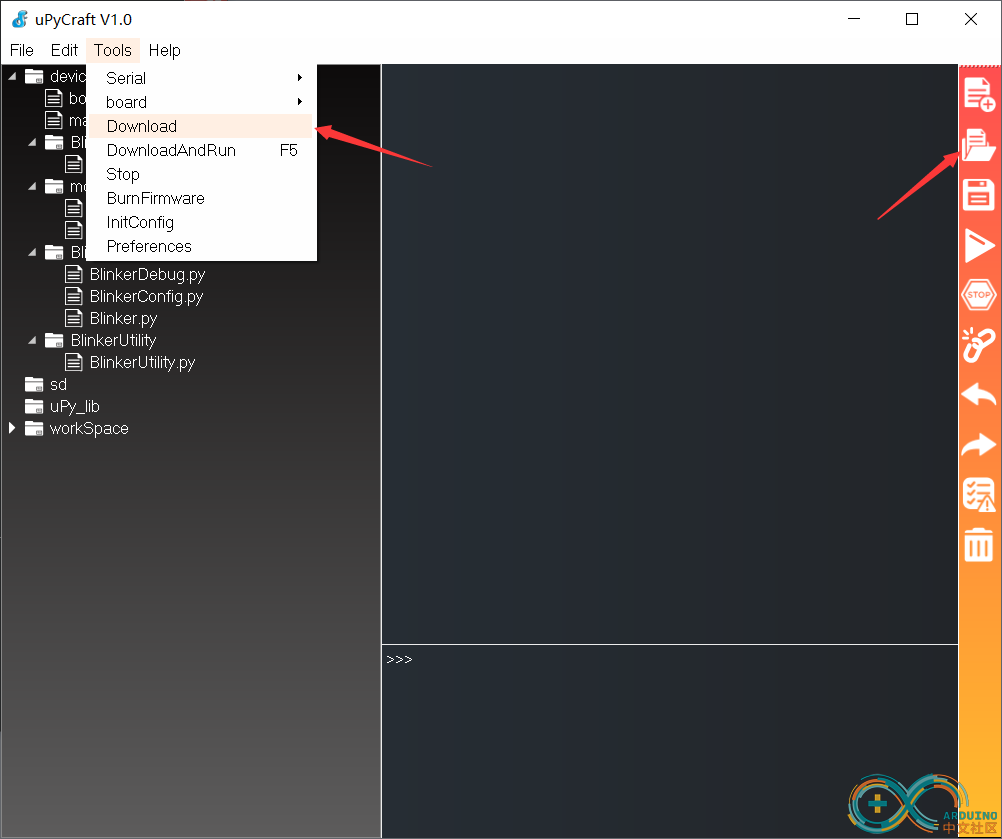
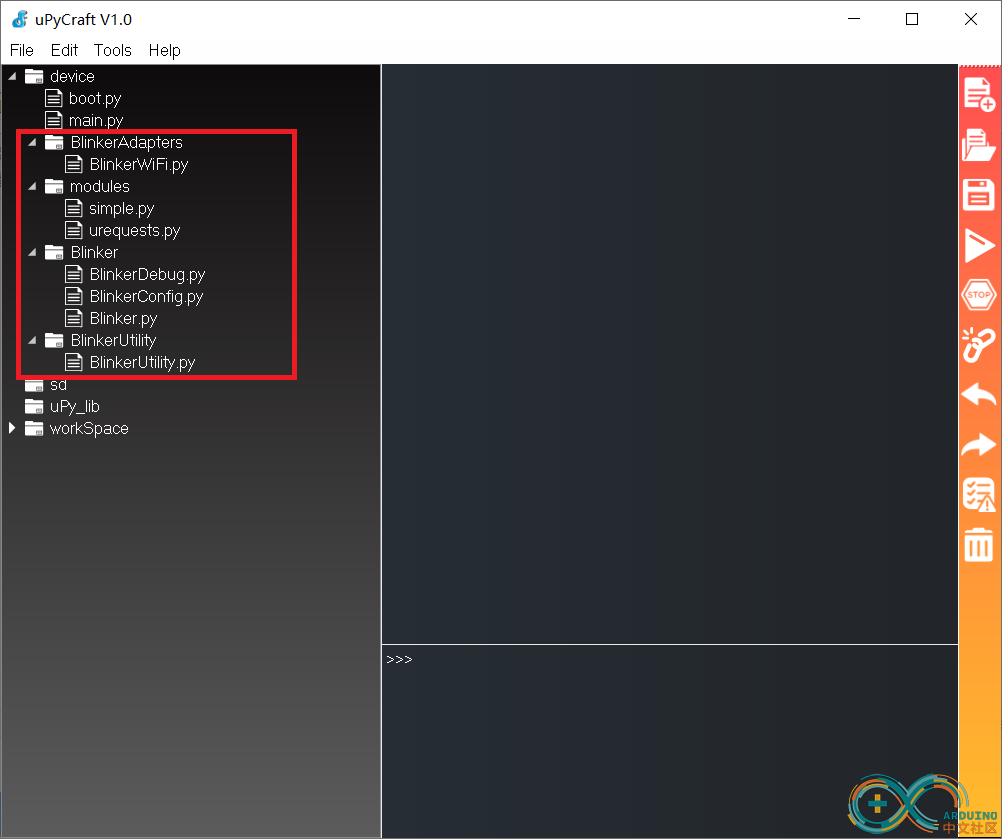
步骤2:安装uPycraft软件,刷好固件后,Tools-Serials选择开发板串口与型号。打开解压后的blinker-mpy-master文件夹,将各个py文件夹上传到开发板中后建立对应名称的文件夹(右键创建)分类存放。

目录对应关系。

步骤3:新建文件,复制下方的代码,修改授权码和WIFI配置信息,另存为名字main.py。点击右侧栏的三角形运行。重启开发板。
其它说明:
灯带引脚GPIO5,uPycraft软件可能不太好用,可以结合Micropython File Uploader软件使用。欢迎加q群1147147694
讨论。
- #!/usr/bin/env python
- # -*- coding: utf-8 -*-
- from machine import Pin
- from neopixel import NeoPixel
- from Blinker.Blinker import Blinker, BlinkerButton, BlinkerNumber,BlinkerRGB
- from Blinker.BlinkerDebug import *
- pin=Pin(5,Pin.OUT)
- num_pxiels=60;
- strip=NeoPixel(pin,num_pxiels)
- auth = '*****'
- ssid = '*****'
- pswd = '*****'
- BLINKER_DEBUG.debugAll()
- Blinker.mode('BLINKER_WIFI')
- Blinker.begin(auth, ssid, pswd)
- rgb1 = BlinkerRGB("RGBKey")
- brt_set=0
- color_set=[0,0,0,0]
- def show_on(colorR,colorG,colorB,colorW):
- global num_pxiels
- for i in range(num_pxiels):
- strip[i]=(int(colorR*colorW/255),int(colorG*colorW/255),int(colorB*colorW/255))
- strip.write()
- '''
- def breath(wait):
- brt_set=brt_set+fadeAmount
- show_on(color_set[0],color_set[1],color_set[2],brightness)
- Blinker.run()
- time.sleep(wait)
- if brightness==0 or brightness==255:
- fadeAmount=-fadeAmount
- '''
-
- def rgb1_callback(r_value, g_value, b_value, bright_value):
- """ """
-
- BLINKER_LOG("R value: ", r_value)
- BLINKER_LOG("G value: ", g_value)
- BLINKER_LOG("B value: ", b_value)
- BLINKER_LOG("Brightness value: ", bright_value)
- color_set[0]=r_value
- color_set[1]=g_value
- color_set[2]=b_value
- color_set[3]=bright_value
- return color_set
- #show_on(int(r_value*bright_value/255),int(g_value*bright_value/255),int(b_value*bright_value/255))
-
- def data_callback(data):
- BLINKER_LOG('Blinker readString: ', data)
-
- rgb1.attach(rgb1_callback)
- Blinker.attachData(data_callback)
- Blinker.run()
- if __name__ == '__main__':
- while True:
- Blinker.run()
- show_on(color_set[0],color_set[1],color_set[2],color_set[3])
-
-
|
|