Arduino串口绘图器使用说明-Arduino中文社区 - Powered by Discuz!

Arduino中文社区

 找回密码
 立即注册

QQ登录

只需一步,快速开始

查看: 9989|回复: 1

Arduino串口绘图器使用说明

[复制链接]
发表于 2018-4-6 20:30 | 显示全部楼层 |阅读模式
    本人突然看到串口绘图器,查阅一些资料后知道了怎么用。
   附上示例:
   [mw_shl_code=bash,true]int i = 0;
int j = 5;
void setup() {
  // put your setup code here, to run once:
  Serial.begin(9600);
}
void loop() {
  // put your main code here, to run repeatedly:
  i = i + 1;
  j = j + 1;
  Serial.print(i);
  Serial.print(",");
  Serial.println(j);
  delay(50);
}[/mw_shl_code]

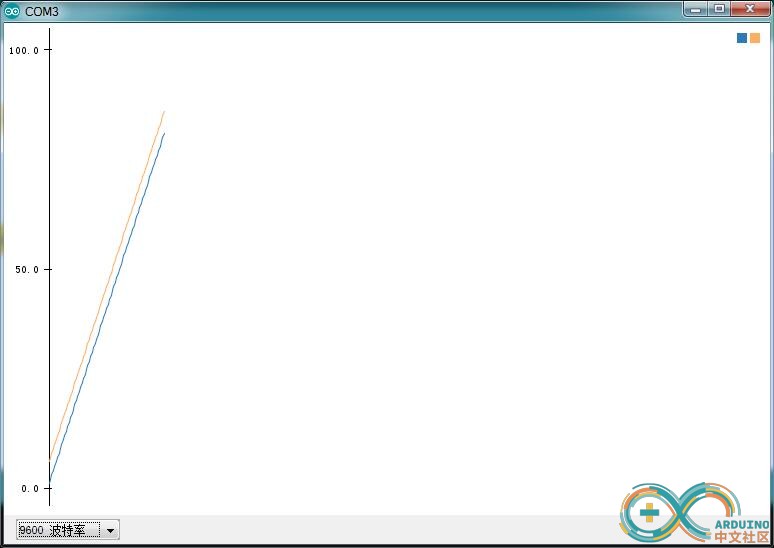
说明:i,j为两个不同的变量,画的是两个变量随时间变化的图,图中不同颜色则代表不同的变量。
       不同变量用“,”间隔,注意print与println,后者是将之前(i和j)所有的变量不分先后地同时输出到串口上。

显示图片

显示图片
 楼主| 发表于 2018-4-6 20:31 | 显示全部楼层
https://www.norwegiancreations.com/2016/01/tutorial-multiple-values-in-the-arduino-ide-serial-plotter/
具体可以参考这个
您需要登录后才可以回帖 登录 | 立即注册

本版积分规则

小黑屋|Archiver|手机版|Arduino中文社区

GMT+8, 2024-12-1 05:38 , Processed in 0.077499 second(s), 18 queries .

Powered by Discuz! X3.4

Copyright © 2001-2021, Tencent Cloud.

快速回复 返回顶部 返回列表