|
|
本帖最后由 vany5921 于 2020-8-30 13:28 编辑
使用M5Stack+NodeMCU制作一个简单的视频播放控制器,结合python脚本实现远程控制。
硬件准备:
1.M5Stack
2.NodeMCU ESP8266
3.白色高亮LED
4.8P排母
在观看视频时,当我需要静音或将其跳转10秒钟时,我需要从沙发上走到笔记本电脑旁边(连接到电视)进行这些调整。因为我是如此懒惰和厌倦,因此做了这个东西。
这个怎么运行:
M5Stack(客户端)/ NodeMCU(服务器):
M5Stack将作为遥控器工作。
因此在这里,我们作为服务器的客户端。
如果我执行给定的这些操作,则它将在IP之后写入/ A或/ B,以便服务器可以执行分配的任务
- if (M5.BtnA.wasReleased()) {
- http.begin("http://192.168.4.1/A");
- int httpCode = http.GET();
- M5.Lcd.fillScreen(BLUE);
- M5.Lcd.setTextColor(WHITE);
- M5.Lcd.setTextSize(3);
- M5.Lcd.setCursor(65, 10);
- M5.Lcd.print("10BACK");
- http.end();
- }
- else if (M5.BtnC.wasReleased()) {
- http.begin("http://192.168.4.1/B");
- int httpCode = http.GET();
- M5.Lcd.fillScreen(BLUE);
- M5.Lcd.setTextColor(WHITE);
- M5.Lcd.setTextSize(3);
- M5.Lcd.setCursor(65, 10);
- M5.Lcd.print("10FOR");
- http.end();
- }
- else if (M5.BtnB.wasReleased()) {
- http.begin("http://192.168.4.1/C");
- int httpCode = http.GET();
- M5.Lcd.fillScreen(RED);
- M5.Lcd.setTextColor(WHITE);
- M5.Lcd.setTextSize(3);
- M5.Lcd.setCursor(65, 10);
- M5.Lcd.print("PL/PS");
- http.end();
- } else if (M5.BtnA.wasReleasefor(700)) {
- http.begin("http://192.168.4.1/D");
- int httpCode = http.GET();
- M5.Lcd.fillScreen(BLUE);
- M5.Lcd.setTextColor(WHITE);
- M5.Lcd.setTextSize(3);
- M5.Lcd.setCursor(65, 10);
- M5.Lcd.print("+5VOL");
- http.end();
- }
- else if (M5.BtnC.wasReleasefor(700)) {
- http.begin("http://192.168.4.1/E");
- int httpCode = http.GET();
- M5.Lcd.fillScreen(BLUE);
- M5.Lcd.setTextColor(WHITE);
- M5.Lcd.setTextSize(3);
- M5.Lcd.setCursor(65, 10);
- M5.Lcd.print("-5VOL");
- http.end();
- void A(){
- Serial.println("A");
- digitalWrite(4,1);
- delay(500);
- digitalWrite(4,0);
- }
- if da==b'A':
- pyautogui.press('j')
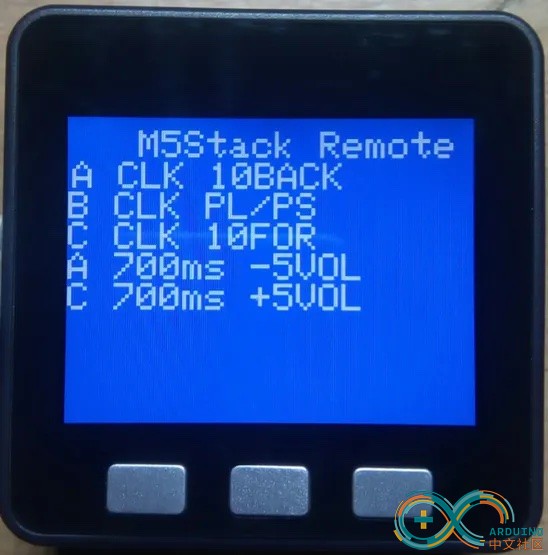
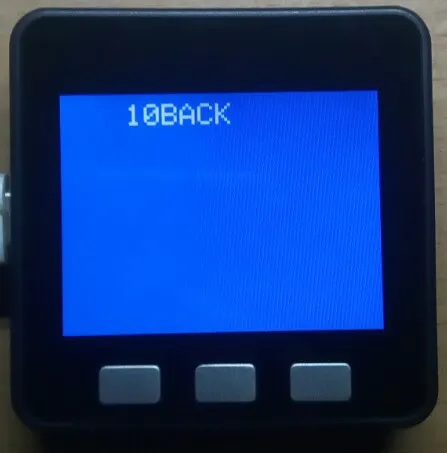
单击A后退10秒
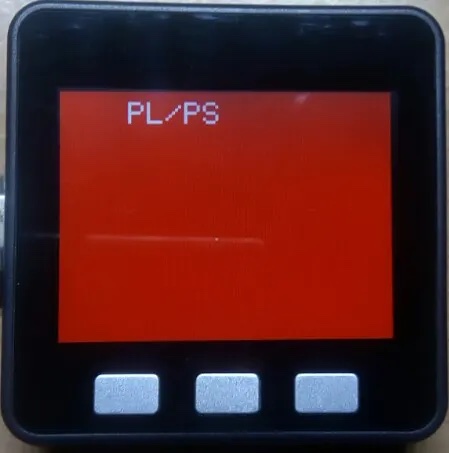
单击B播放/暂停。
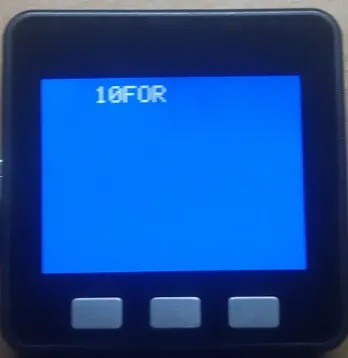
单击C前进10秒
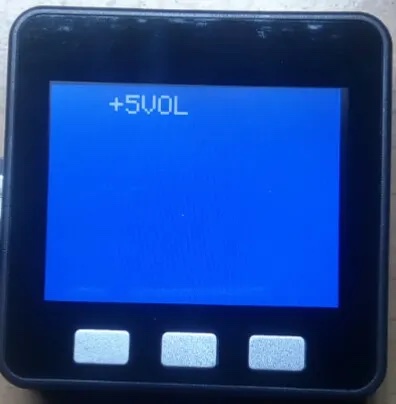
按住C键保持700ms 音量+ 5Vol
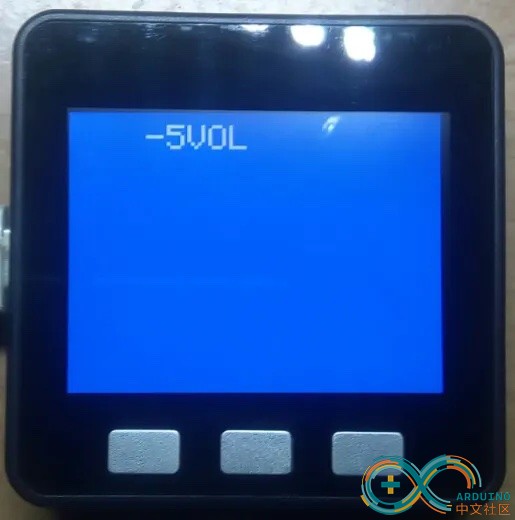
按住A键保持700ms 音量-5Vol
Nodemcu:
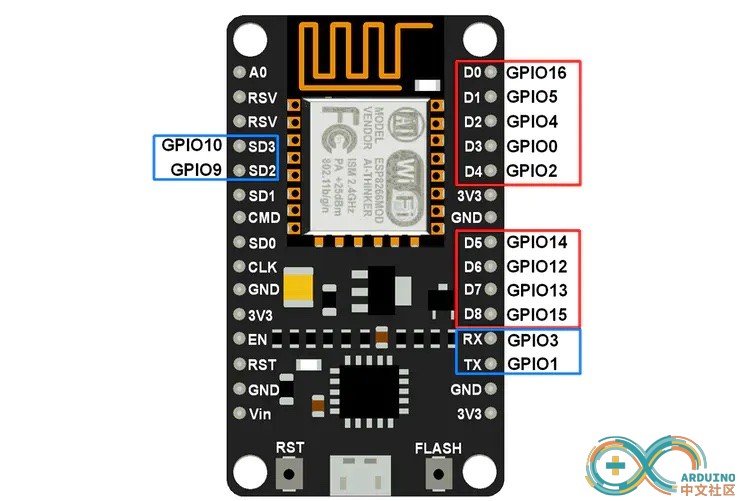
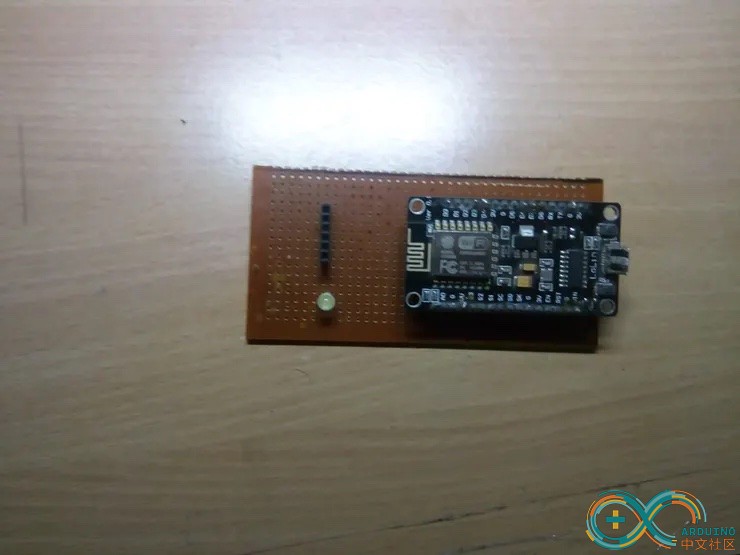
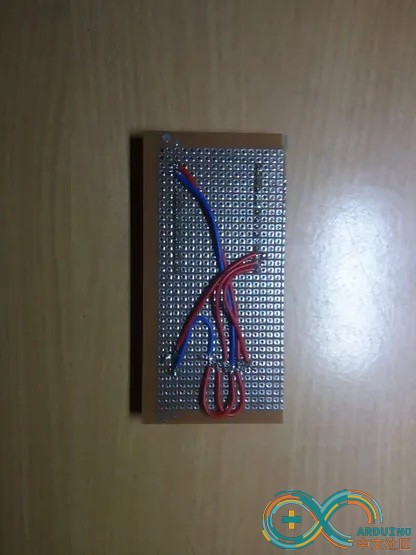
我在GPIO4(D2)上连接了一个与Nodemcu的LED,这表明它已与客户端连接并正常工作。
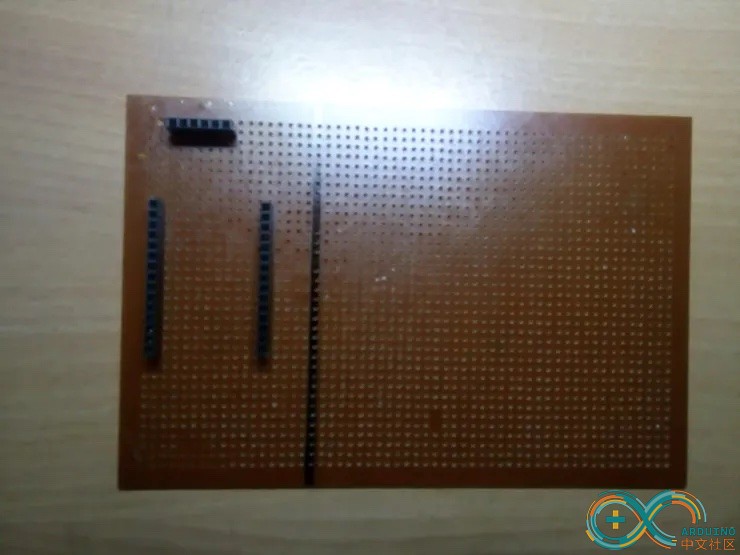
如果有时间,您可以像这样做。
如何使用它:
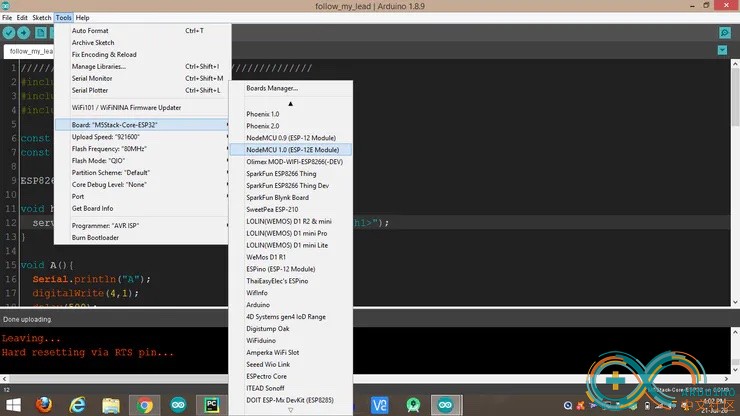
将Nodemcu连接到PC并打开Arduino,然后选择板和端口并上传(如果尚未上传代码),然后
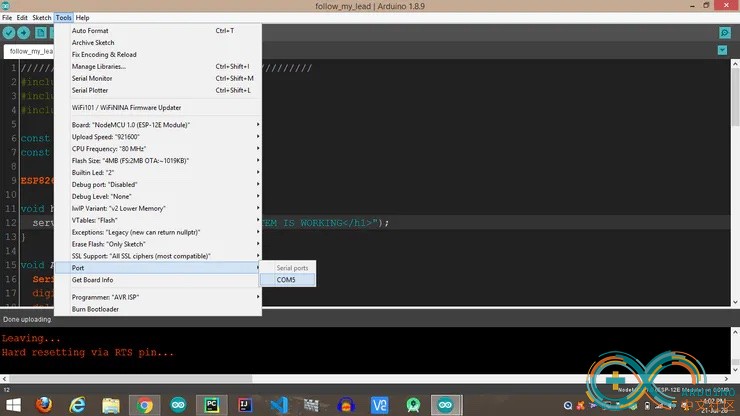
在我的情况下,端口是COM5,这就是为什么我将COM5放在这里的原因是将您的Nodemcu端口放到使其工作。
- m5 = serial.Serial('COM5', 115200, timeout=.1)
完整代码:
- //////////////////M5Stack////////////////////
- #include <M5Stack.h>
- #include <WiFi.h>
- #include <HTTPClient.h>
- const char* ssid ="ESPremote";
- const char* password ="12345678";
- void setup(){
- M5.begin();
- for(uint8_t t = 4; t > 0; t--) {
- Serial.printf("[SETUP] WAIT %d...\n", t);
- Serial.flush();
- delay(1000);
- }
- WiFi.mode(WIFI_STA);
- WiFi.disconnect(true);
- WiFi.begin(ssid,password);
- while (WiFi.status() != WL_CONNECTED) {
- delay(500);
- M5.Lcd.print(".");
-
- delay(15000);
- M5.Lcd.println("Connected to Server");
- delay(100);
- M5.Lcd.fillScreen(BLUE);
- M5.Lcd.setTextColor(WHITE);
- M5.Lcd.setTextSize(3);
- M5.Lcd.setCursor(55, 10);
- M5.Lcd.print("M5Stack Remote");
- M5.Lcd.setCursor(3, 35);
- M5.Lcd.println("A CLK 10BACK");
- M5.Lcd.println("B CLK PL/PS");
- M5.Lcd.println("C CLK 10FOR");
- M5.Lcd.println("A 700ms -5VOL");
- M5.Lcd.println("C 700ms +5VOL");
- }
- }
- void loop() {
- M5.update();
- if((WiFi.status() == WL_CONNECTED)) {
- HTTPClient http;
-
- if (M5.BtnA.wasReleased()) {
- http.begin("http://192.168.4.1/A");
- int httpCode = http.GET();
- M5.Lcd.fillScreen(BLUE);
- M5.Lcd.setTextColor(WHITE);
- M5.Lcd.setTextSize(3);
- M5.Lcd.setCursor(65, 10);
- M5.Lcd.print("10BACK");
- http.end();
- }
- else if (M5.BtnC.wasReleased()) {
- http.begin("http://192.168.4.1/B");
- int httpCode = http.GET();
- M5.Lcd.fillScreen(BLUE);
- M5.Lcd.setTextColor(WHITE);
- M5.Lcd.setTextSize(3);
- M5.Lcd.setCursor(65, 10);
- M5.Lcd.print("10FOR");
- http.end();
- }
- else if (M5.BtnB.wasReleased()) {
- http.begin("http://192.168.4.1/C");
- int httpCode = http.GET();
- M5.Lcd.fillScreen(RED);
- M5.Lcd.setTextColor(WHITE);
- M5.Lcd.setTextSize(3);
- M5.Lcd.setCursor(65, 10);
- M5.Lcd.print("PL/PS");
- http.end();
- } else if (M5.BtnA.wasReleasefor(700)) {
- http.begin("http://192.168.4.1/D");
- int httpCode = http.GET();
- M5.Lcd.fillScreen(BLUE);
- M5.Lcd.setTextColor(WHITE);
- M5.Lcd.setTextSize(3);
- M5.Lcd.setCursor(65, 10);
- M5.Lcd.print("+5VOL");
- http.end();
- }
- else if (M5.BtnC.wasReleasefor(700)) {
- http.begin("http://192.168.4.1/E");
- int httpCode = http.GET();
- M5.Lcd.fillScreen(BLUE);
- M5.Lcd.setTextColor(WHITE);
- M5.Lcd.setTextSize(3);
- M5.Lcd.setCursor(65, 10);
- M5.Lcd.print("-5VOL");
- http.end();
- }
- }
- }//////AMAAN JAVED/////////////
- //////////////////NODEMCU////////////////////
- #include <ESP8266WiFi.h>
- #include <WiFiClient.h>
- #include <ESP8266WebServer.h>
- const char *ssid = "ESPremote";
- const char *password = "12345678";
- ESP8266WebServer server(80);
- void handleRoot() {
- server.send(200, "text/html", "<h1>SYSTEM IS WORKING</h1>");
- }
- void A(){
- Serial.println("A");
- digitalWrite(4,1);
- delay(500);
- digitalWrite(4,0);
- }
- void B(){
- Serial.println("B");
- digitalWrite(4,1);
- delay(500);
- digitalWrite(4,0);
- }
- void C(){
- Serial.println("C");
- digitalWrite(4,1);
- delay(500);
- digitalWrite(4,0);
- }
- void D(){
- Serial.println("D");
- digitalWrite(4,1);
- delay(500);
- digitalWrite(4,0);
- }
- void E(){
- Serial.println("E");
- digitalWrite(4,1);
- delay(500);
- digitalWrite(4,0);
- }
- void setup() {
- delay(1000);
- pinMode(4,OUTPUT);
- Serial.begin(115200);
- WiFi.softAP(ssid, password);
- IPAddress myIP = WiFi.softAPIP();
- server.on("/", handleRoot);
- server.on("/A", A);
- server.on("/", handleRoot);
- server.on("/B", B);
- server.on("/", handleRoot);
- server.on("/C", C);
- server.on("/", handleRoot);
- server.on("/D", D);
- server.on("/", handleRoot);
- server.on("/E", E);
- server.begin();
- digitalWrite(4,1);
- delay(500);
- digitalWrite(4,0);
- }
- void loop() {
- server.handleClient();
- }
- import serial
- import pyautogui
- m5 = serial.Serial('COM5', 115200, timeout=.1)# change port as per your Nodemcu Port
- while True:
- da = m5.readline()[:-2]
- if da==b'A'
- pyautogui.press('j')
- if da==b'B'
- pyautogui.press('L')
- if da==b'C'
- pyautogui.press('k')
- if da==b'D'
- pyautogui.press('volumedown')
- if da==b'E'
- pyautogui.press('volumeup')
|
|